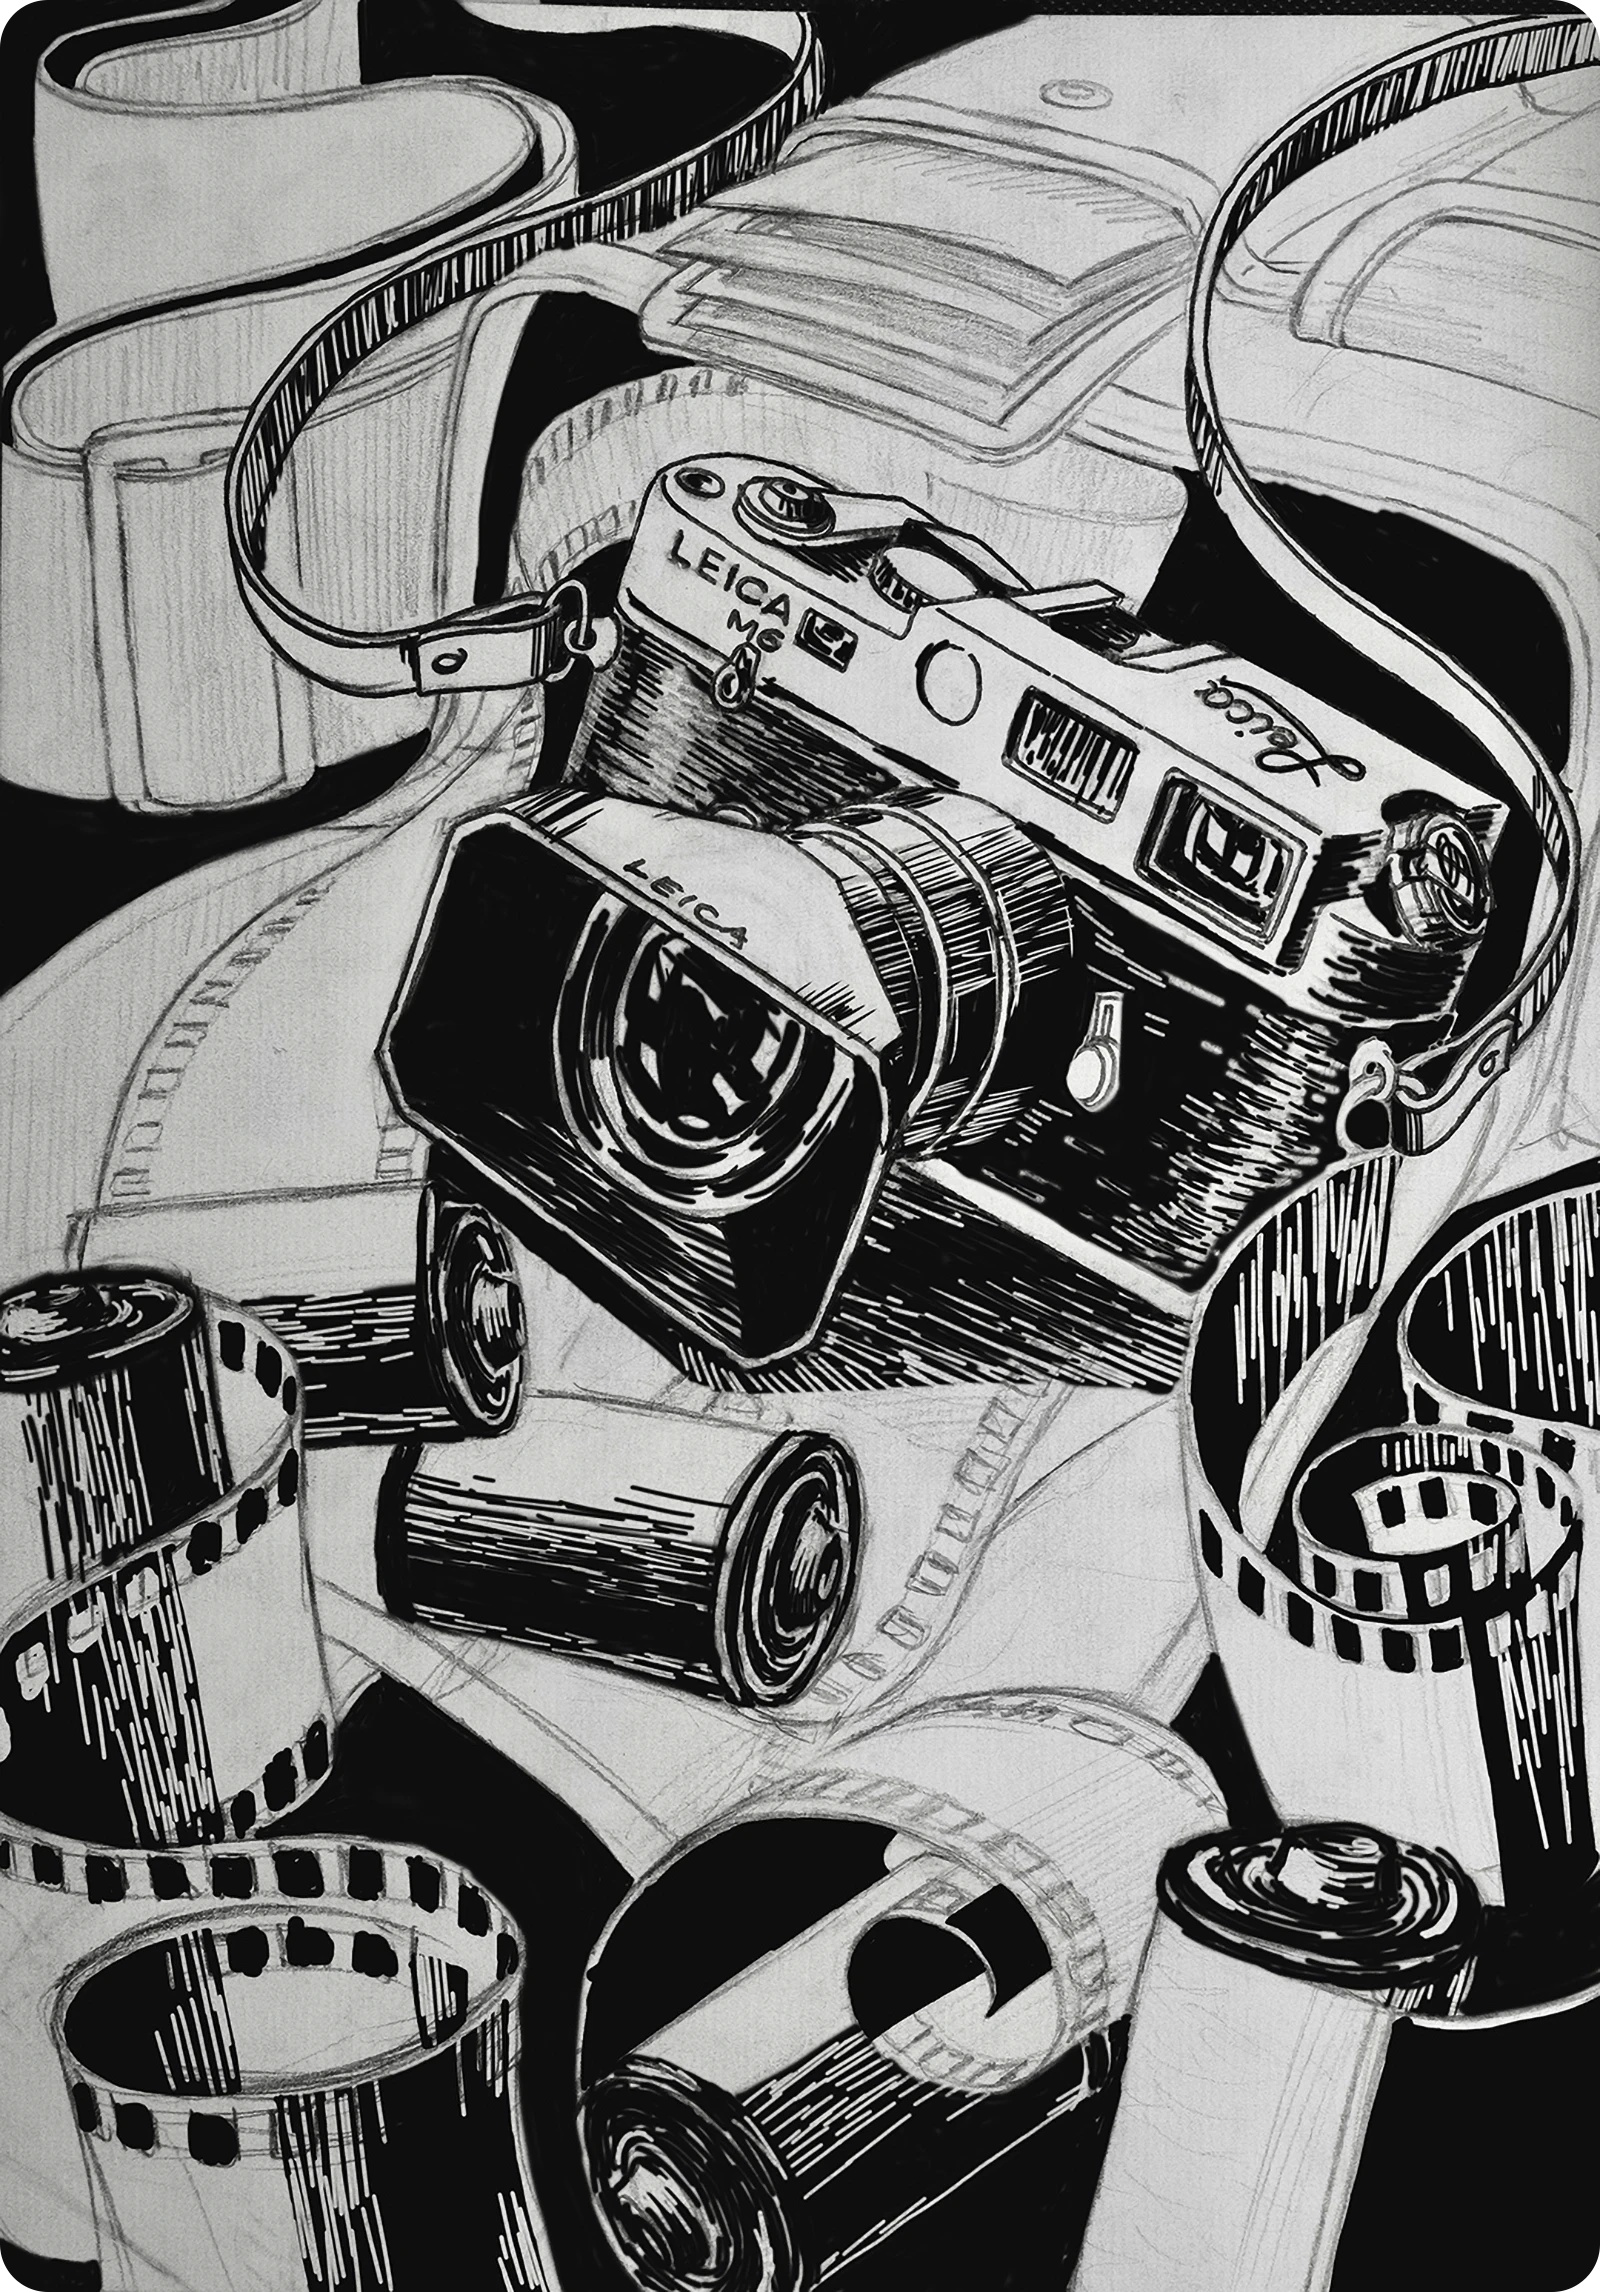
Embarking on the journey of exploring the intricate worlds of screen printing and woodcut printing at the university level is a captivating experience that unveils the intersection of artistry and technique. As students delve into these subjects, they encounter the transformative process of translating their creative visions onto tangible mediums. Screen printing, with its meticulous color separation and precision alignment, offers a hands-on understanding of turning digital designs into vibrant, tactile prints. Simultaneously, woodcut printing introduces a unique blend of tradition and innovation as students carve their designs onto wooden surfaces, witnessing the fusion of craftsmanship and artistic expression. This journey not only hones technical skills but also fosters a profound appreciation for the rich history and contemporary applications of these printmaking techniques. Through this immersive exploration, students navigate the realms where creativity meets precision, leaving them with a newfound appreciation for the art and craft of printing.
Woodcut printing process
Woodcut printing involves carving a design into a wood block, inking the raised surface, and transferring the image onto paper or fabric. After carving and inking, the block is pressed onto the chosen material, creating a print. The process combines artistic skill and technical precision to produce distinctive, graphic prints.


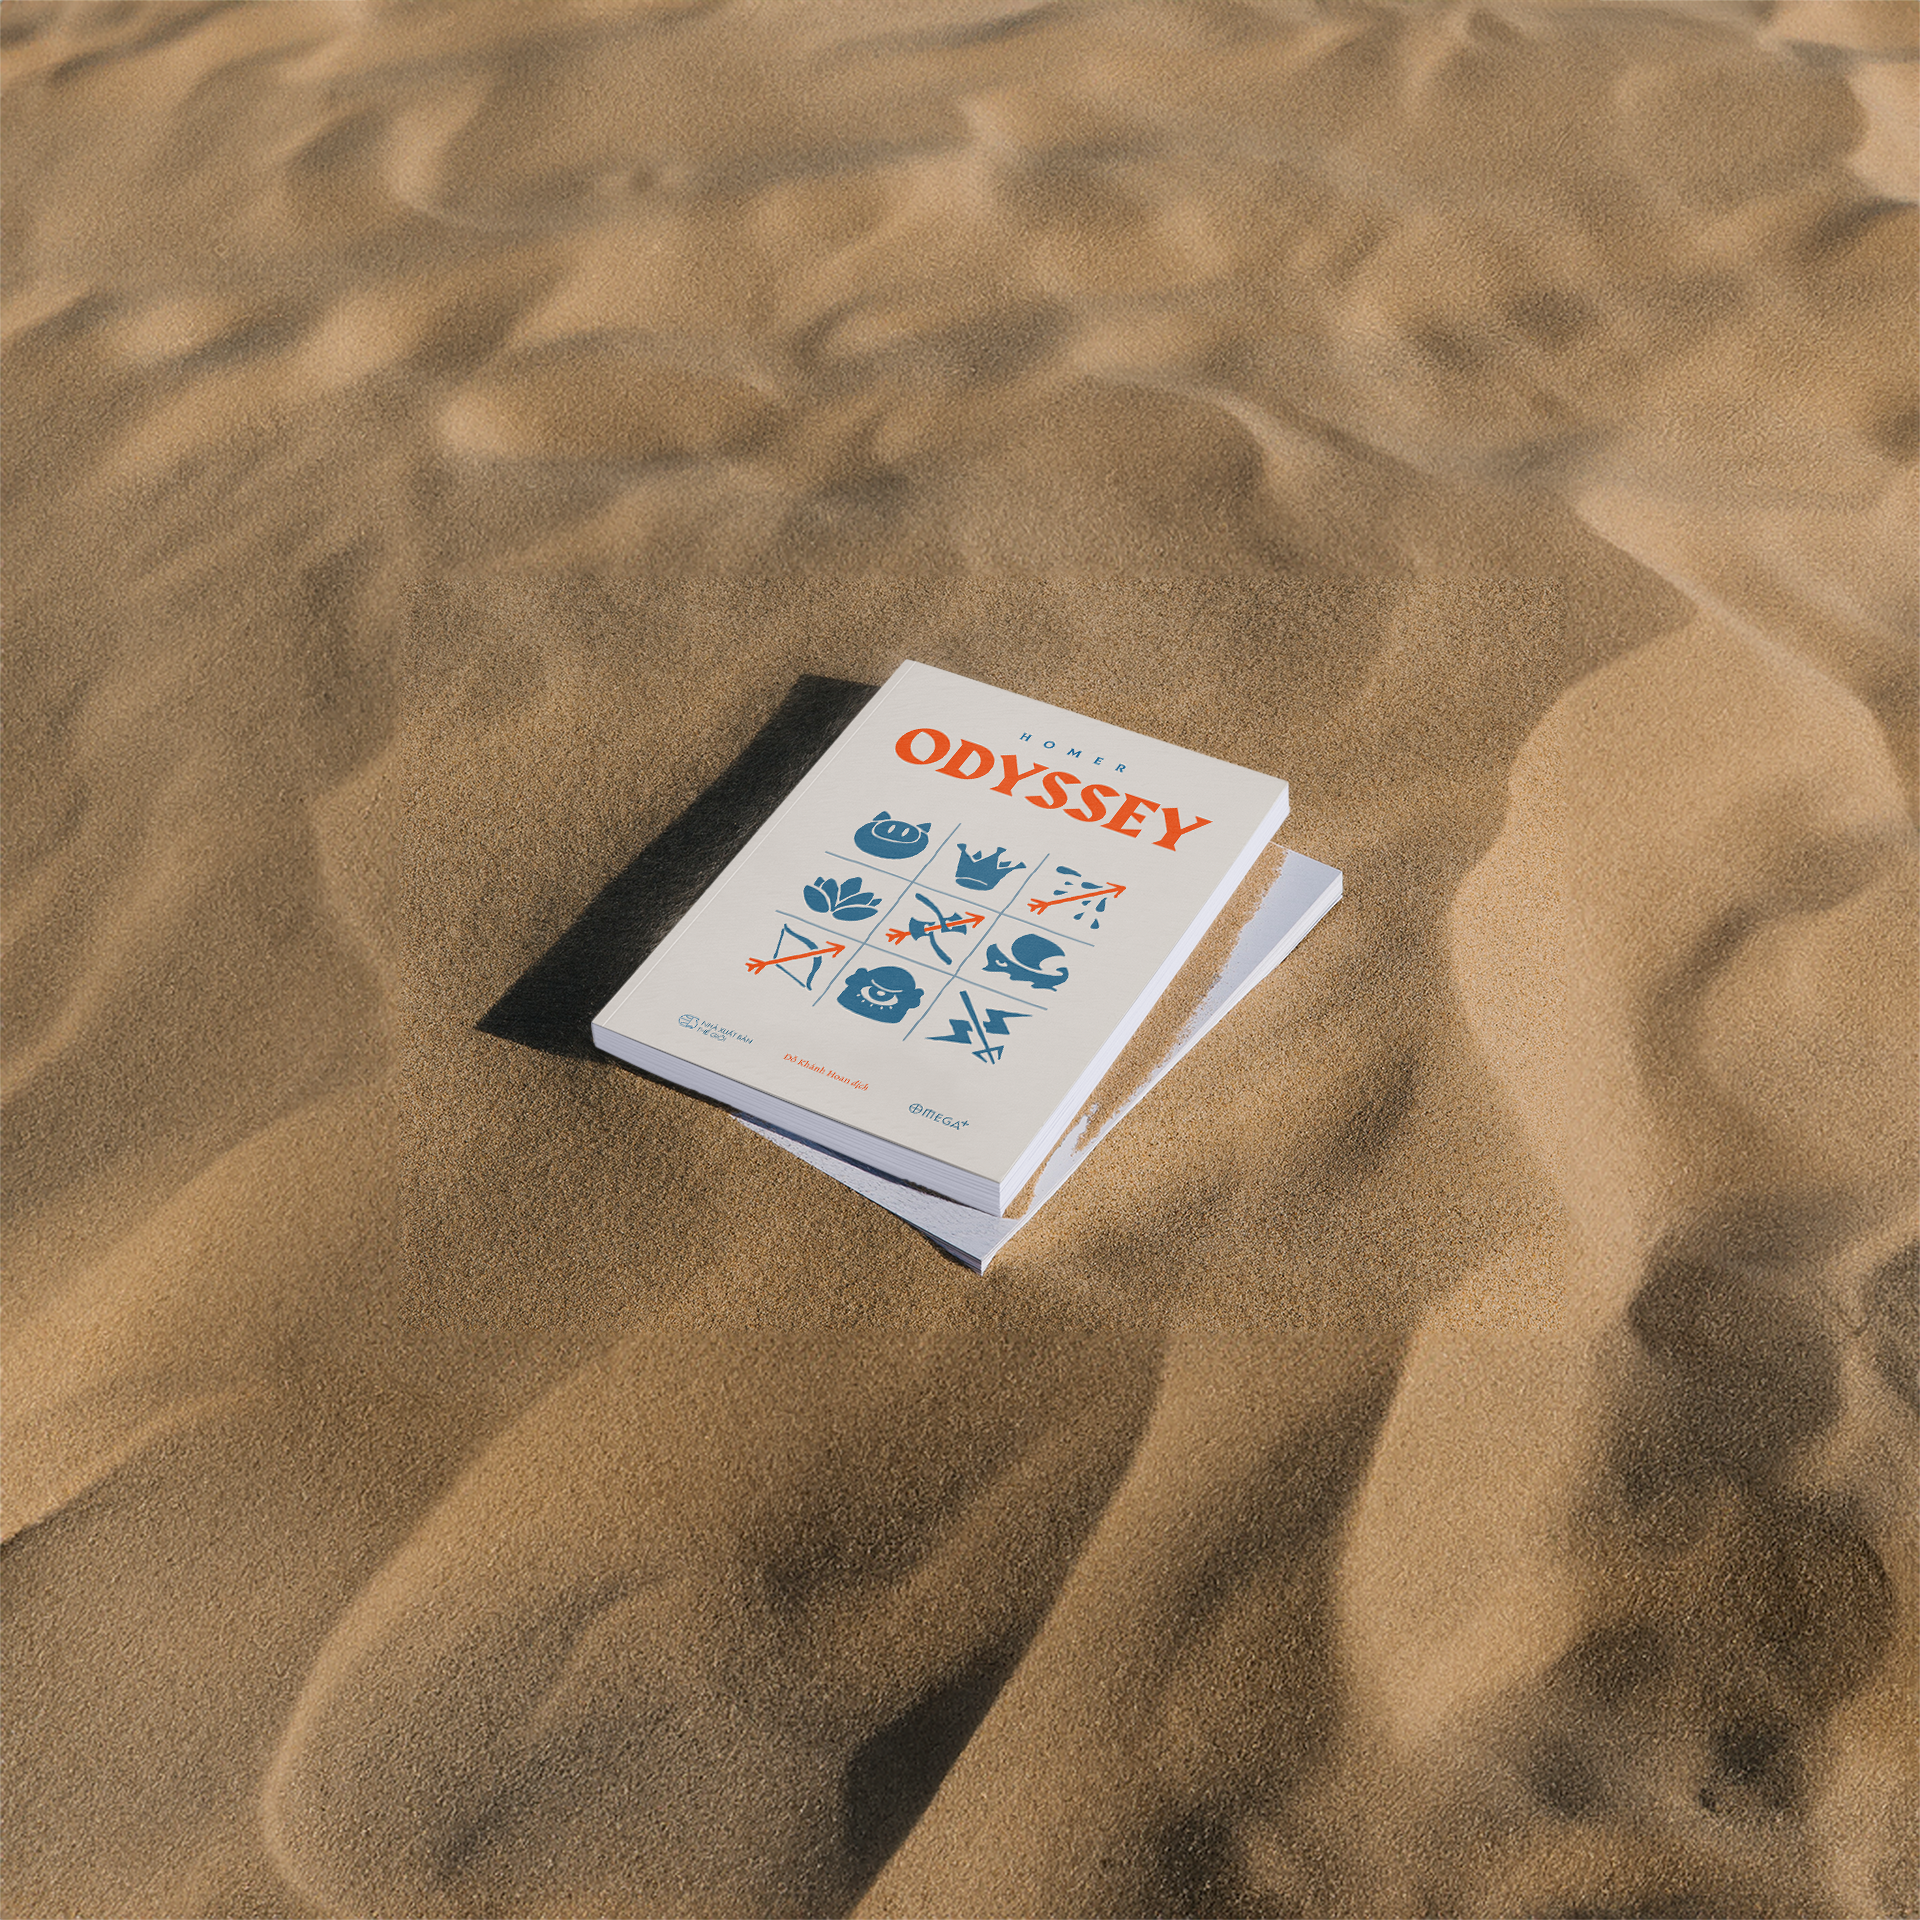
Screenprinting process
Design Creation in Adobe Illustrator: Create or design the artwork in Adobe Illustrator, ensuring that the colors, shapes, and details are as desired for the final product.

Color Separation: Depending on the number of colors in the design, perform color separation. Each color will require a separate screen during the printing process.


Prepare Screens: For each color, prepare a screen. A mesh screen is coated with a light-sensitive emulsion, and the separated design is exposed onto it using a light source.
Develop Screens: Wash out the exposed screens to reveal the stencil of the design. Each screen represents one color of the design.
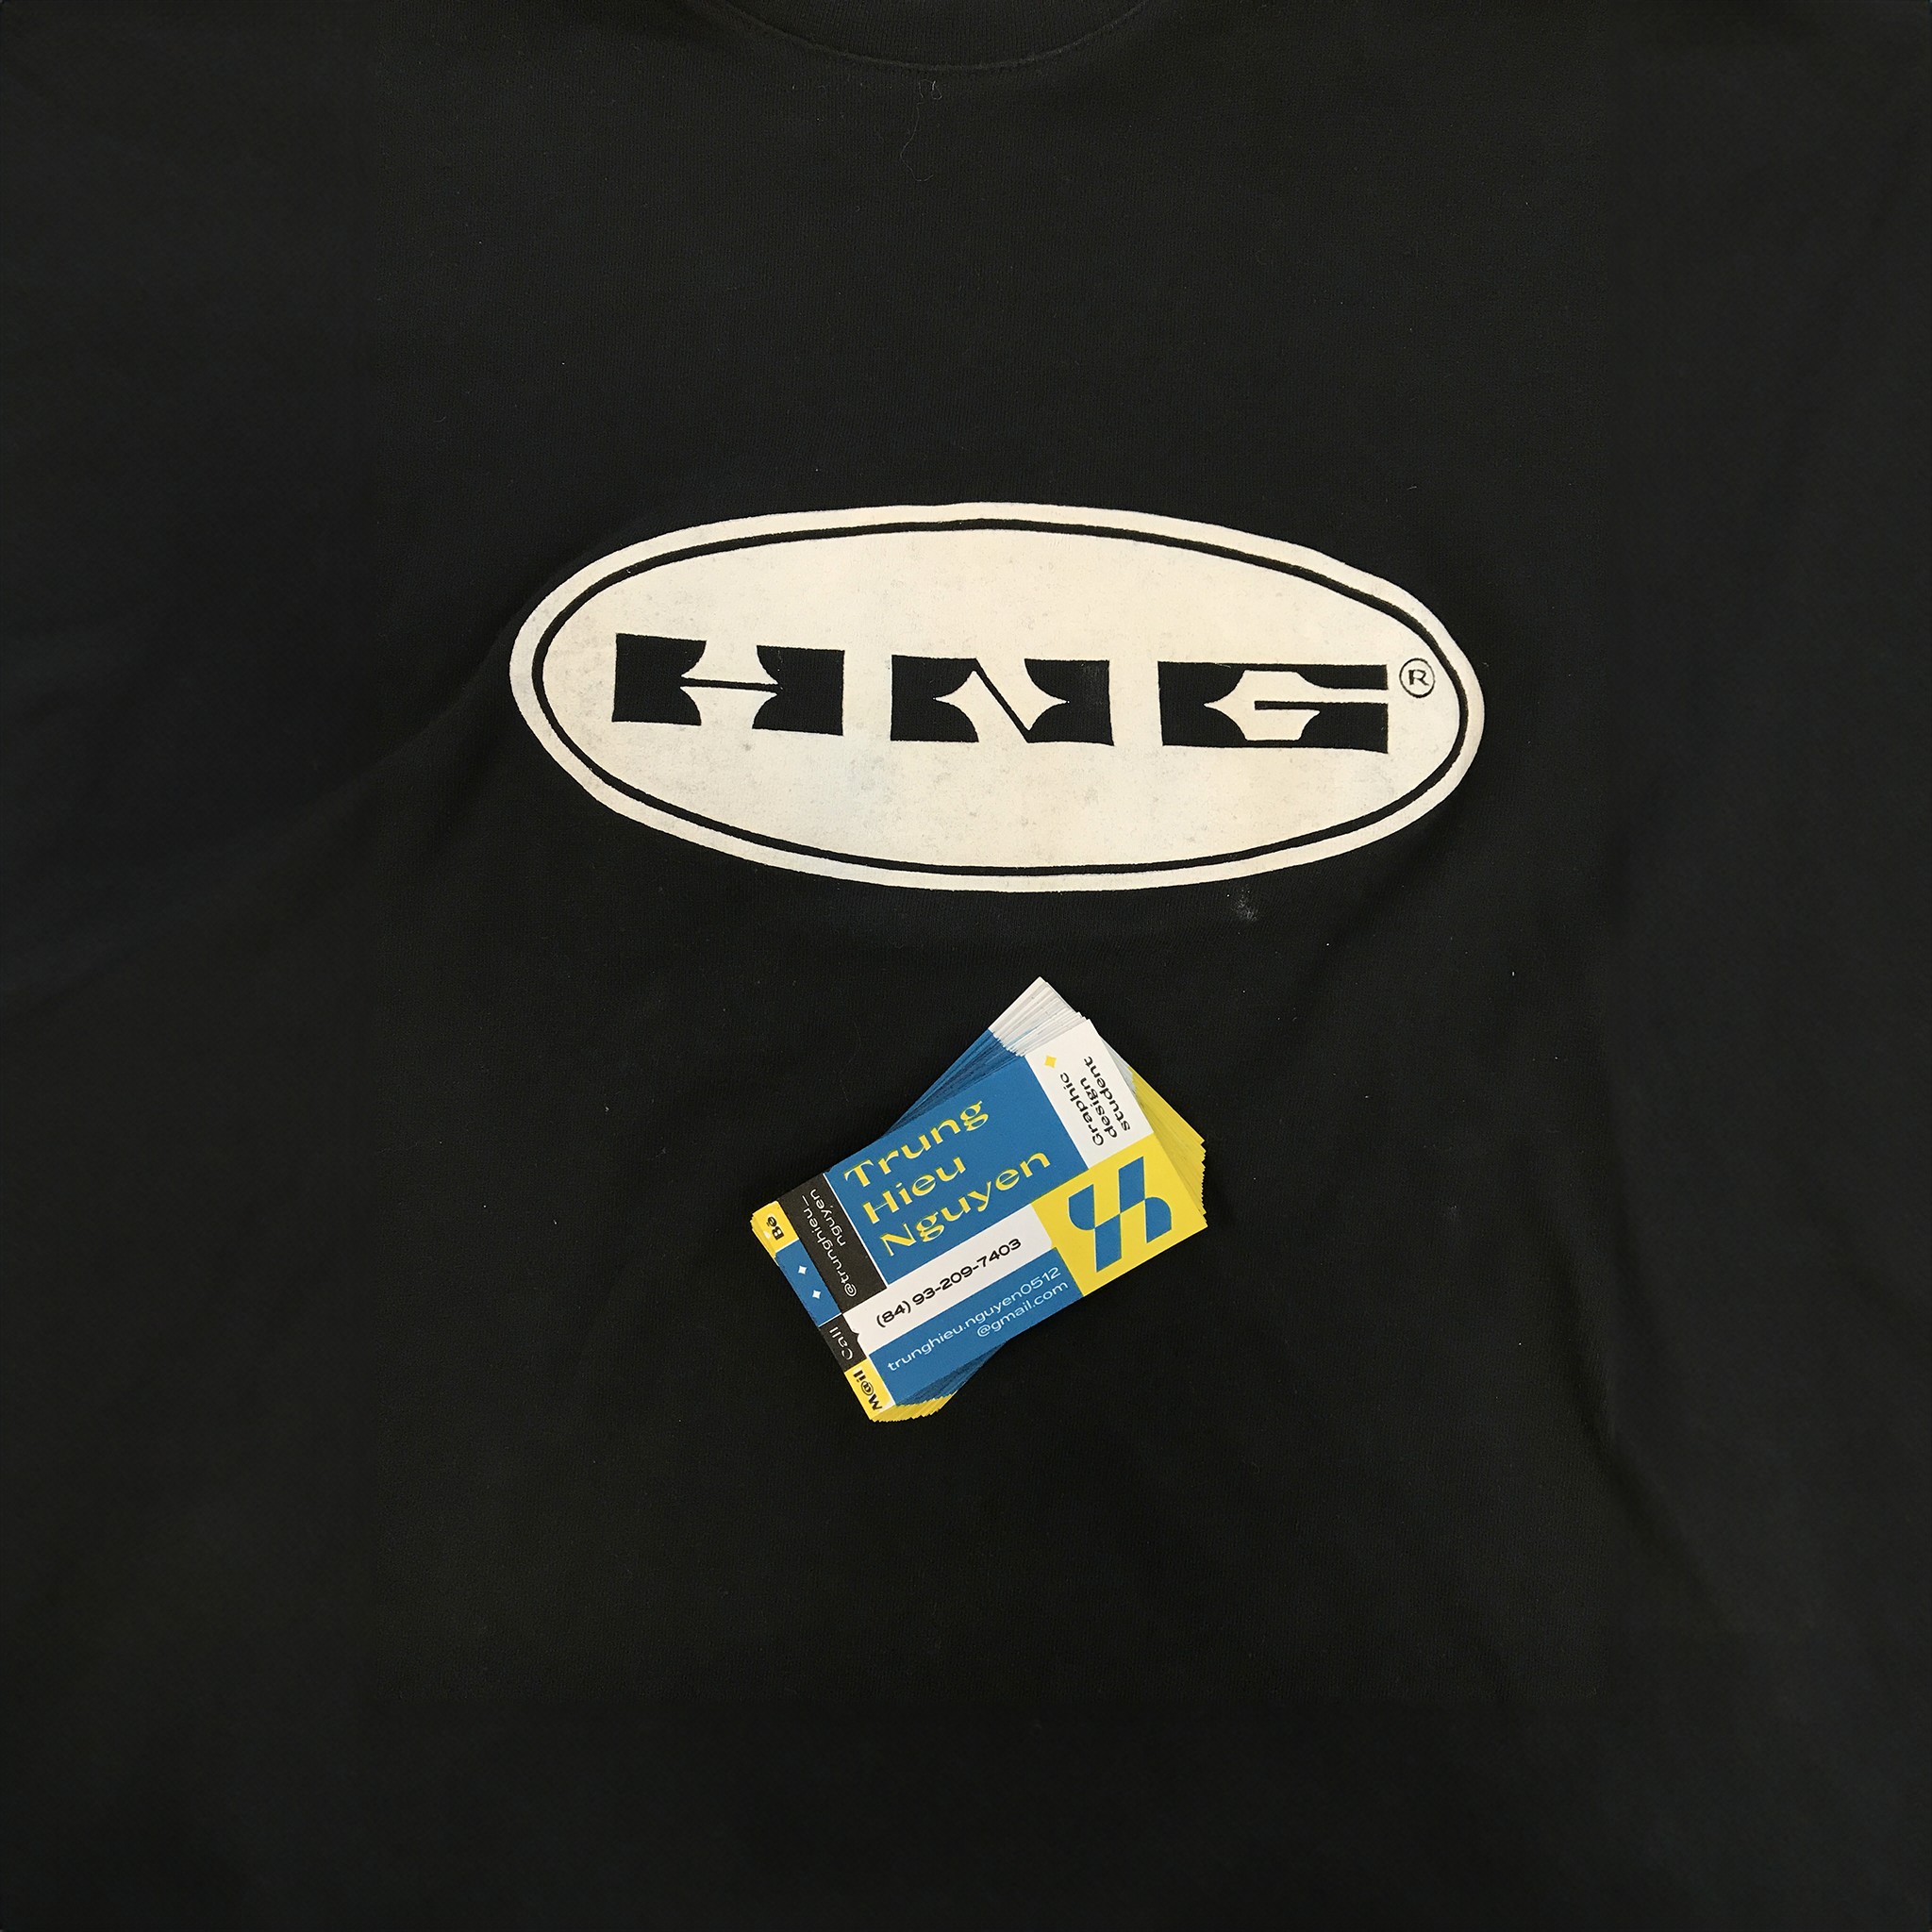
Printing Setup: Set up the printing press with the prepared screens. Each screen is aligned precisely to ensure accurate printing.
Ink Mixing: Mix the inks according to the specified colors in the design. Ensure that the consistency is appropriate for printing.
Printing Process: Place the substrate (such as a T-shirt or paper) on the printing surface. Apply each color of ink through its corresponding screen using a squeegee, layering the colors to create the final design.
Curing: Cure or dry the printed material. This is often done through heat curing to ensure the ink adheres properly and is long-lasting.
Quality Check: Inspect the final printed product for any imperfections or misalignments. Make adjustments if necessary.
Finishing: Once the printing is complete and quality-checked, finish and package the printed products accordingly.